A hail claim can feel like a maze the first time through: deductibles, adjusters, depreciation, supplements and checks made out to more than one name. Once you know the steps, the process is more predictable than it looks.
This guide walks through how a typical residential hail claim moves in Iowa. Every policy is different, though, and we're a roofing contractor, not an attorney or an insurance professional. Treat this as a general map, and let your own policy and your agent have the final word on coverage.
Before you file: read the parts of your policy that matter
Pull up your declarations page and policy, or ask your agent to walk you through these points:
- Time limits. Most policies require prompt notice of a loss and set a deadline for filing a claim after a storm. A one-year window is common, but it varies, so check yours rather than assuming.
- Your deductible. Some policies have a flat dollar deductible. Many now carry a separate wind/hail deductible set as a percentage of your dwelling coverage. For example, a 1 percent deductible on $300,000 of dwelling coverage is $3,000, and a 2 percent deductible is $6,000.
- Replacement cost value (RCV) or actual cash value (ACV). RCV policies pay what it costs to replace the roof today, usually in two payments. ACV policies subtract depreciation for the roof's age and wear, and that money isn't paid back later.
- Roof-specific terms. Some policies pay for roofs on a schedule based on age, or exclude cosmetic damage to metal roofing and trim. Look for endorsements that mention the roof by name.
- Code upgrade coverage. Often called ordinance or law coverage, it can pay for items the building code requires during replacement that your old roof didn't have.
Step 1: Document the storm
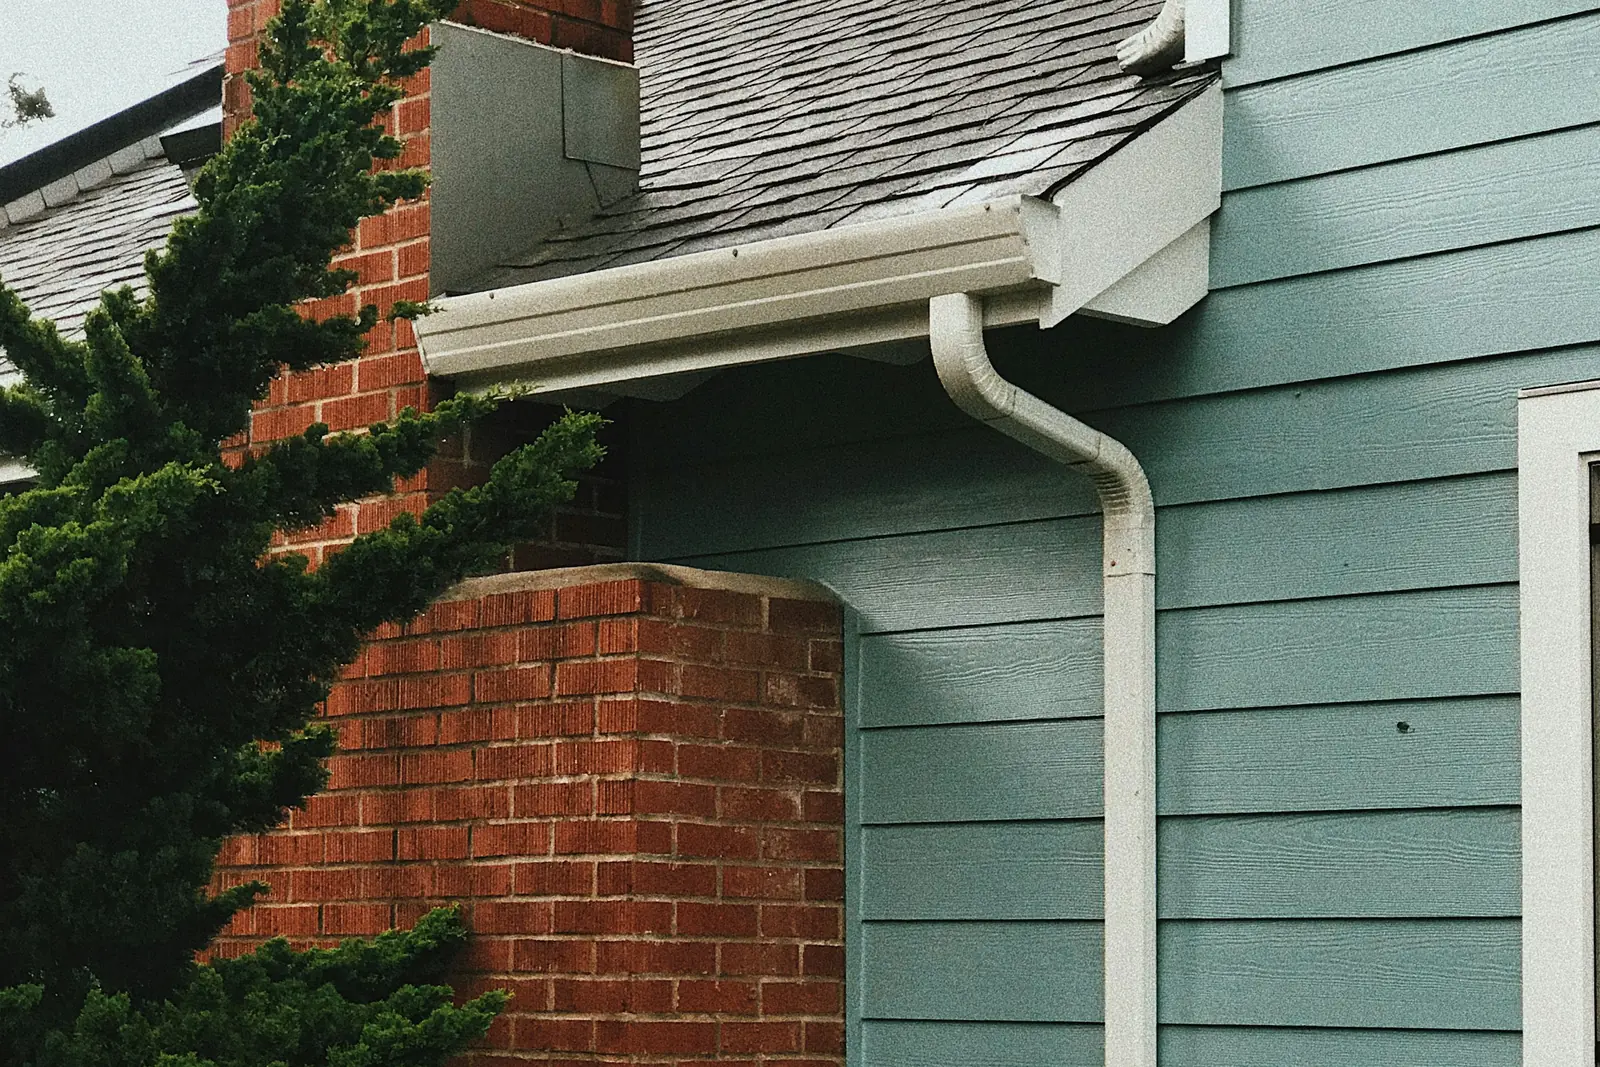
Start your own record on the day of the storm. Write down the date and approximate time, photograph hailstones next to a coin or ruler if you can, and take dated photos of any damage you can see from the ground: dented gutters and downspouts, damaged siding, torn window screens, and spatter marks on decks and fences. Our 48-hour hail checklist covers this in more detail.
Step 2: Get a roof inspection
An inspection before you file helps answer the first real question: is there enough damage to justify a claim? Hail damage to shingles usually shows up as bruises or fractures in the shingle mat, round spots where granules were knocked loose, and exposed asphalt. Dented gutters alone don't always mean the roof itself was damaged.
That matters because a claim can show up in your insurance history even when it pays little or nothing, and if the damage clearly costs less than your deductible, there may be no reason to file. A roof inspection with photos of every slope gives you something concrete to decide on.
Step 3: File the claim
Call your insurer or agent, or file online or through the company's app. Write down your claim number and the name of everyone you speak with. Most policies also require you to limit further damage, for example by tarping a leak, so keep receipts for any emergency work.
Step 4: The adjuster's inspection
Your insurer will send an adjuster, either a staff adjuster or an independent one working on the company's behalf. On a hail claim, adjusters typically:
- Mark out a test square, often 10 by 10 feet, on each slope and count the hail hits inside it.
- Check soft metals such as vents, gutters and flashing for dents that confirm hail size and direction.
- Note the shingle type, number of layers, roof pitch and other details that affect cost.
- Look at siding, windows and any interior damage you report.
You can have your contractor there. If you ask, we'll meet the adjuster on site, point out damage that might otherwise be missed, and make sure everyone is looking at the same thing.
Step 5: Read the estimate line by line
After the inspection you'll receive a scope of loss, an itemized estimate of what the insurer will pay for. Many insurers build these in estimating software such as Xactimate, so they run long and use plenty of codes. The key figures are:
- Replacement cost value: the full cost of the work at today's prices.
- Depreciation: the amount withheld for age and wear.
- Actual cash value: replacement cost minus depreciation.
- Deductible: subtracted from what the insurer pays.
On an RCV policy, the first check is usually the actual cash value minus your deductible. Compare the line items against what your roof actually needs. Commonly missed items include drip edge, starter strip, ridge cap, ice-and-water membrane, steep or high-roof charges, removal of extra layers, and damaged gutters or siding.
If something is missing, your contractor can send the insurer documentation and a request to add it, usually called a supplement. If you and the insurer disagree about the damage itself, you can ask for a reinspection.
Step 6: Repairs and the depreciation holdback
With an RCV policy, the withheld depreciation is usually recoverable. Once the work is finished, you or your contractor send the final invoice and completion photos, and the insurer releases the rest. Policies set a time limit for completing the work and claiming that money, so check yours. On an ACV policy, depreciation is not paid back.
If you have a mortgage, expect insurance checks to be made out to both you and your lender. The lender has to endorse them, and some hold the funds and release them in stages after the work is inspected. Call your lender's loss department early so this step doesn't hold up the job.
Your deductible is yours to pay
Some contractors offer to "cover" or waive your deductible, or to pad the estimate so you pay nothing out of pocket. That means misrepresenting the cost of the repair to your insurer, and it can put your claim at risk. We never offer it. A fair contractor's price should hold up whether or not insurance is involved.
Where a contractor fits, and where it doesn't
A good roofer can document damage, meet the adjuster, write a detailed estimate and explain what the insurer's scope does and doesn't include. Coverage decisions, disputes over policy language and legal questions belong with your insurer, your agent, or a licensed professional such as an attorney or public adjuster. Be wary of any contractor who promises to "handle the insurance company" for you.
Start with a free inspection
If hail has come through your neighborhood, start with facts. We'll inspect your roof, siding and gutters at no charge, photograph every slope, and tell you honestly whether the damage looks large enough to take to your insurer. If you do file, we can meet your adjuster and help make sure the scope matches the work. Request a free inspection, or read more about our storm damage restoration work.